Workbenches
In RHOAI, a workbench is a containerized working environment that runs as any other application in OpenShift, as a pod. Workbenches typically include a collection of common AI/ML libraries and a JupyterLab server. RHOAI exposes the JupyterLab URL through an OpenShift route so that you can use and interact with the workbench via the web browser.
Workbenches are stateful, meaning that you can stop and restart them without losing your work.
Data science projects can include more than one workbench. This is useful when you need to run different experiments that belong to the same project, but with different tooling. For example, you might want to train a simple model with scikit-learn and another model with PyTorch. Or you might have a workbench only for data exploration and another workbench for model training.
Exercise: Getting Started with Workbenches
Creating Workbenches
Create a data science project (or use an existing one) and navigate to the project dashboard page.
From this page, click Create workbench.
In the workbench creation page, enter the workbench name, select the workbench image, and the image version.
For this particular example, use the recommended version of the Minimal Python image.
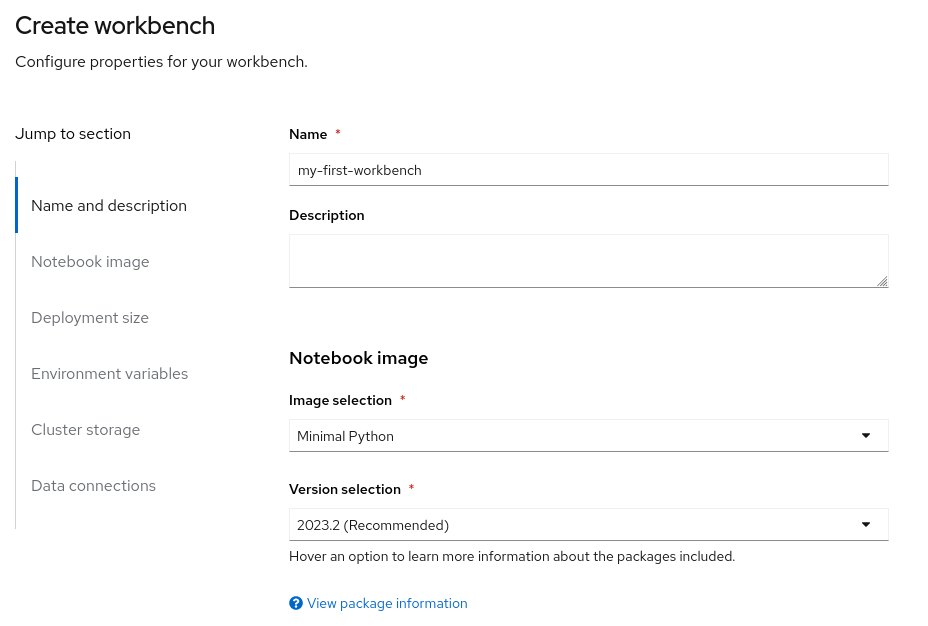
|
The requirements of your project dictate the image that best suits your needs.
For example, if you plan to use TensorFlow, then you might want to select the |
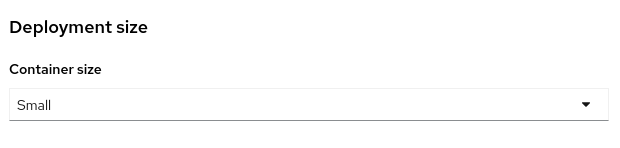
Next, select the workbench container size.
Select Small in this case.
Define Environment Variables
Environment variables are the recommended way to inject configuration into software applications. In this way, the application, or in this case the RHOAI workbench, is decoupled from the working environment.
Scroll down to the Environment variables section and click Add variable.
Choose whether you want to create a ConfigMap or a Secret.
You can define multiple key/value pairs or upload a file.
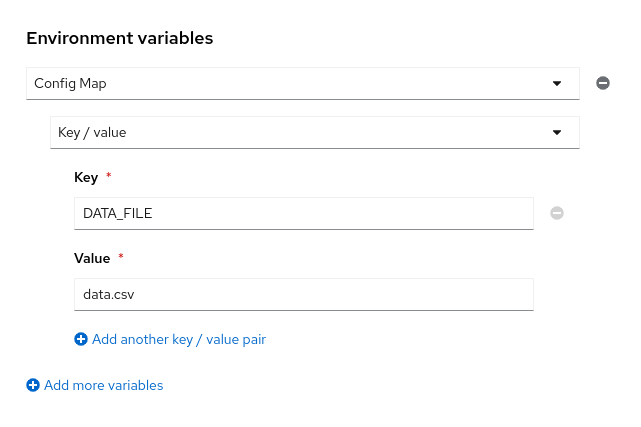
Each ConfigMap or Secret can contain multiple key/value items.
To add more items to a ConfigMap or a Secret, click Add another key / value pair.
Alternatively, you can upload a file that includes multiple key/value pairs.
Add Storage
Workbenches require persistent storage to ensure that your progress is not lost when you stop or remove the workbench.
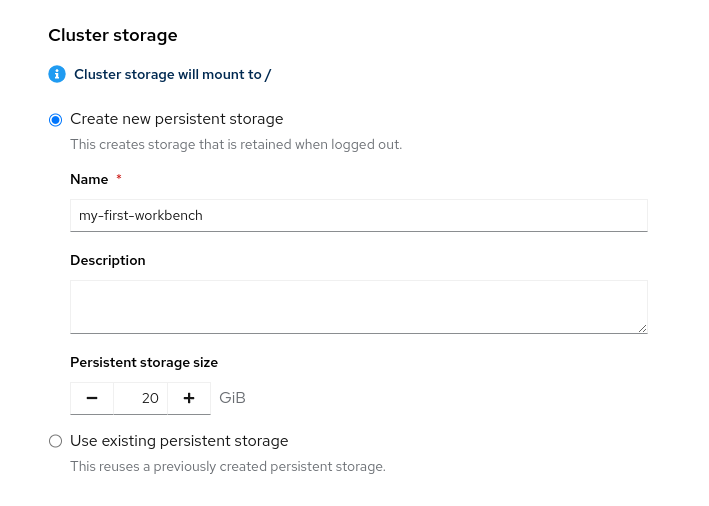
Scroll down to the Cluster storage section.
Verify that RHOAI automatically selects the Create new persistent storage option.
This is the default behavior. RHOAI creates a dedicated persistent storage for each workbench and mounts the storage in the root directory of the container.
Alternatively, you can select an already existing storage. The existing storage must not be associated with any other workbench.
You can adjust the storage size, which by default is 20 GiB.
|
You can also create persistent storage items from the data science project page, and leave the storage unassigned.
This is useful to create persistent storage that you plan to mount in workbench directories different from |
|
You cannot decrease the storage size of storage that is associated to a workbench. |
|
You cannot delete a storage item if it is assigned to a workbench. The storage must be unassigned if you want to delete it. |
Create the Workbench
Scroll down to the bottom of the page.
The Data connections section lets you inject S3 connection parameters into your workbench. Leave this section unchanged. Data connections are covered later in the course.
Click Create workbench.
RHOAI triggers the creation of the workbench and redirects you to the data science project page.
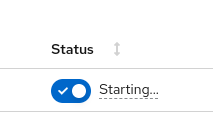
While RHOAI is provisioning the workbench, the workbench displays with the Starting… status.
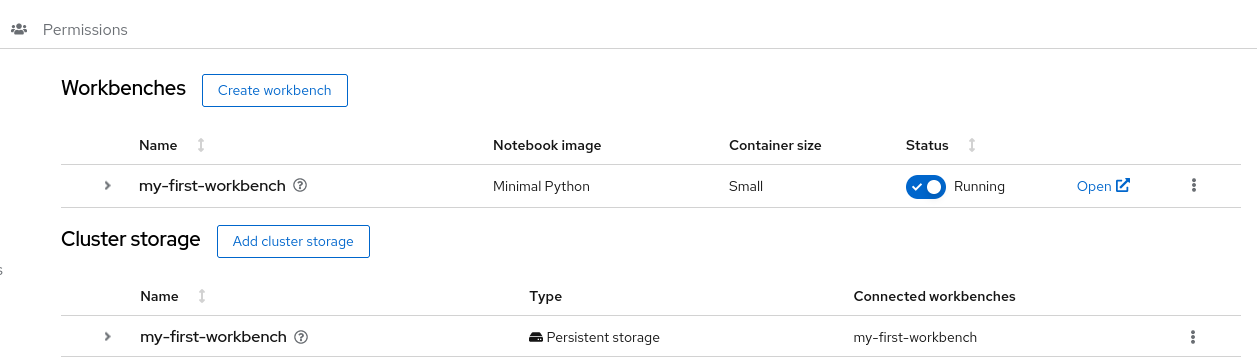
If the workbench creation is successful, then you should see the workbench running in the project dashboard. The dashboard should also display the persistent storage associated with the workbench.
Inspect the Workbench
In the data science project page, click the > icon to view more details about the workbench.
The card that slides down displays the workbench details, including storage usage.
You can use the Add storage button to add more storage mount points to the workbench.

Open the Workbench
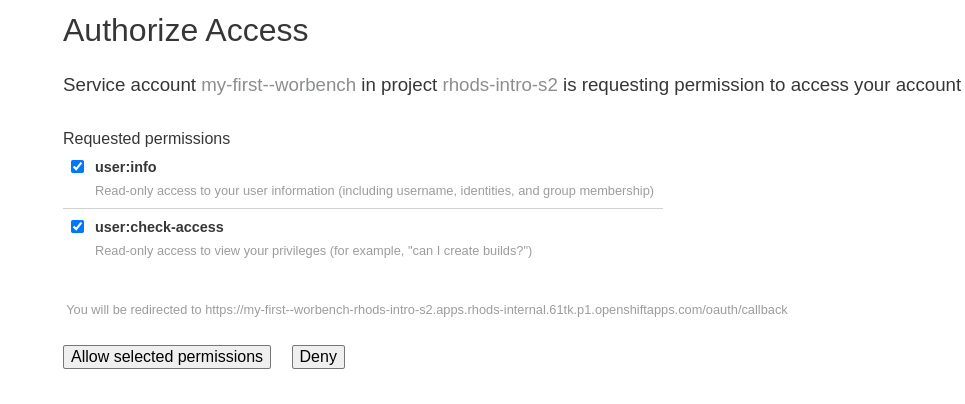
Click Open. On the browser tab that opens, enter your credentials to authenticate to the workbench’s JupyterLab.
Next, allow the selected permissions to access JupyterLab.
Click Allow selected permissions.
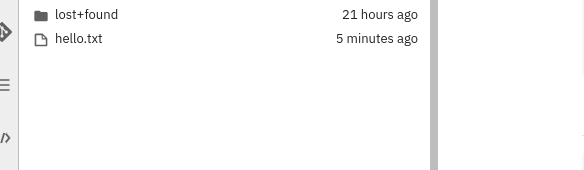
Verify that you see the JupyterLab application:
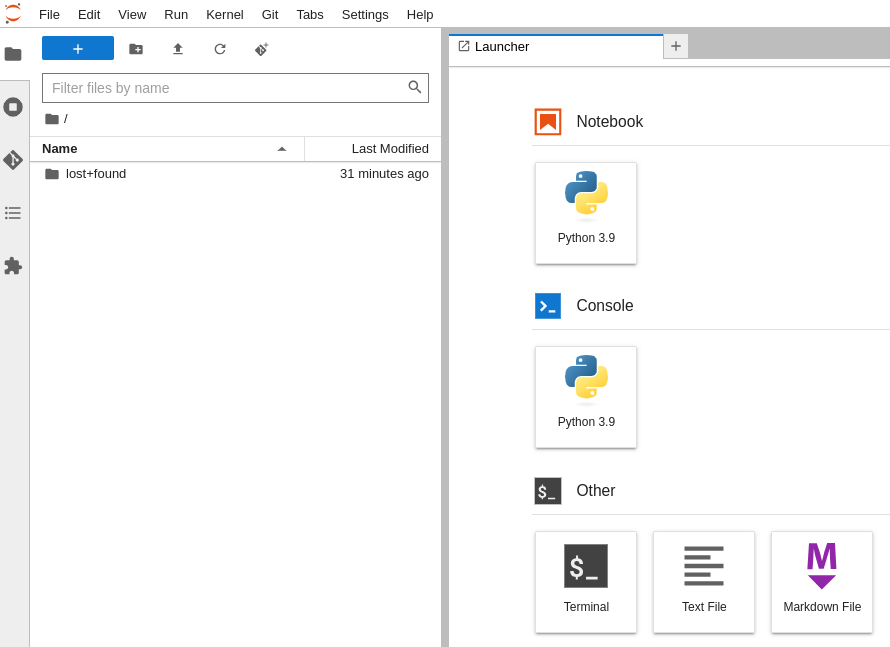
In the right pane, click the Terminal item to open a new terminal.
In the terminal, verify that the DATA_FILE environment variable has been injected into the workbench:
(app-root) (app-root) echo $DATA_FILE
data.csv
Next, create a file. You will use this file to verify that the state of the workbench is preserved after a restart.
(app-root) (app-root) touch hello.txt
(app-root) (app-root)
Starting and stopping workbenches
Return to the RHOAI data science project page.
Click the Status switch of the workbench to stop it.
The workbench status changes to Stopping….
After the workbench is stopped, toggle the switch to start the workbench again.
The workbench status changes to Starting….
When the workbench is running, switch to the JupyterLab browser tab. You might see a message indicating that the server is unavailable. Press F5 to refresh the page.
Verify that the hello.txt file that you created still exists.
Edit the Workbench
Return to the RHOAI data science project page.
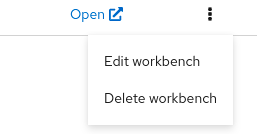
Click the workbench ⋮ button, then click Edit workbench.
Switch the image to Standard Data Science and click Update workbench.
|
Make sure that you save your work at JupyterLab before updating a workbench. When you edit a workbench, RHOAI restarts the workbench, so any unsaved work will be lost. |
|
You cannot edit a workbench while the workbench is starting or stopping. |
Delete the Workbench
From the project dashboard, click the workbench ⋮ button
Click Delete workbench.
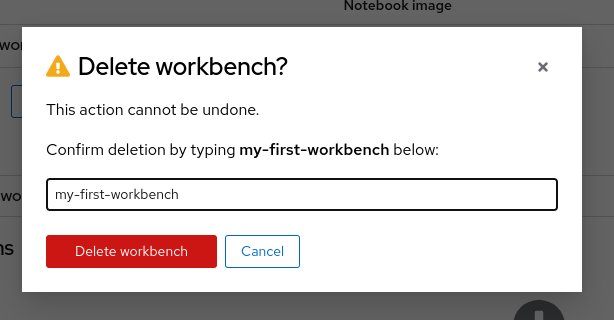
In the delete window, type the workbench name to confirm the operation:
|
Deleting a workbench does not delete the associated persistent storage. This means that you can create another workbench and restore the data that you were using in the previous workbench. |
Workbench Resources
RHOAI internally defines workbenches as stateful applications. When you create a workbench, RHOAI creates a StatefulSet in the OpenShift namespace that corresponds to your data science project. The StatefulSet manages a pod that includes two containers:
-
The workbench container, which contains JupyterLab and other packages. You interact with this container when you use the JupyterLab web interface.
-
The
oauth-proxycontainer, which provides authorization and authentication to access JupyterLab.
RHOAI also creates the required services and route to allow external traffic into the workbench container. If you list the resources of the OpenShift namespace that corresponds to your data science project, you should see something similar to this:
NAME                       READY   STATUS    ..
pod/my-first-workbench-0   2/2     Running   ..

NAME                             TYPE        ...
service/modelmesh-serving        ClusterIP   ...
service/my-first-workbench       ClusterIP   ...
service/my-first-workbench-tls   ClusterIP   ...

NAME                                  READY  ...
statefulset.apps/my-first-workbench   1/1    ...

NAME                                         ...
route.route.openshift.io/my-first-workbench  ...
|
A single HTTPS route is created with non-secure traffic (HTTP port 80) configured to be redirected to the HTTPS port 443 ( |
Creating a new persistent storage in RHOAI results in the creation of a PersistentVolumeClaim (PVC) in the corresponding OpenShift project. The following diagram represents the OpenShift resources involved in a workbench:

|
If you delete the PVC of a storage assigned to a running workbench, then the PVC switches to |
Permissions
To enable workbench access to other users, you must grant permissions to those users at the data science project level. RHOAI does not offer workbench-level permission management.
Limits
If your memory and/or GPU requirements are high, then RHOAI might not be able to allocate the requested resources in the workbench. You might see a message similar to the following:
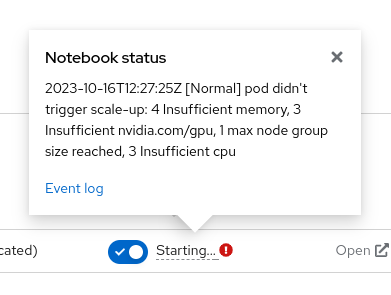
In this case, try to decrease your resource requirements by editing the workbench, or contact your RHOAI administrator.