Additional disk unaccessible in Virtual Machine
Scenario
The user is reporting that the additional disk in the exercise5 virtual machine does not show up in the lists when running the fdisk or lsblk command. The user would like to create a disk named exercise5-vol-data1 and mount it to the virtual machine named exercise5
Your task is to troubleshoot and resolve the issue so that the exercise5-vol-data1 disk is showing when the user runs the lsblk or fdisk command.
|
The steps to fix exercise5 are:
Console
-
Login to OpenShift console using the assigned user account.
userx{password}-
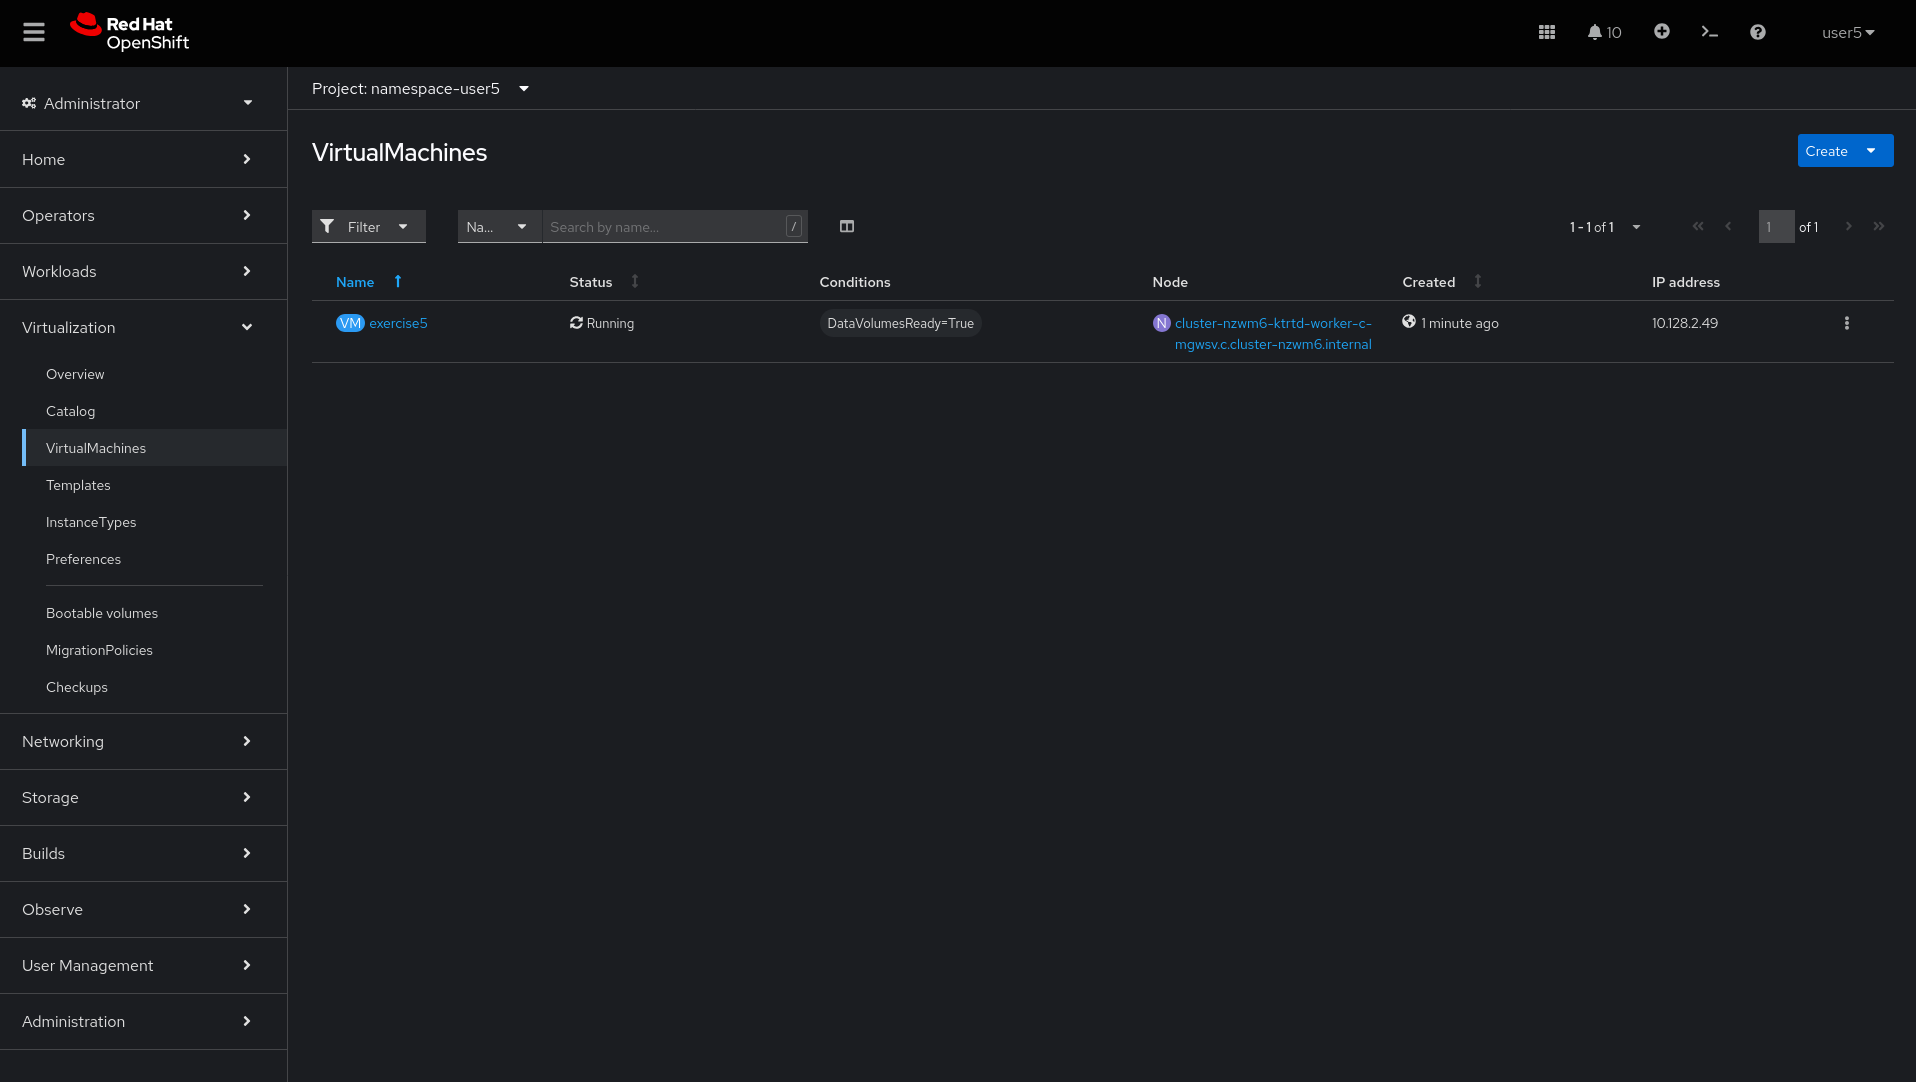
Go to Virtualization - VirtualMachines - Select the project for the assigned user account - look for VM called
exercise5.
-
On
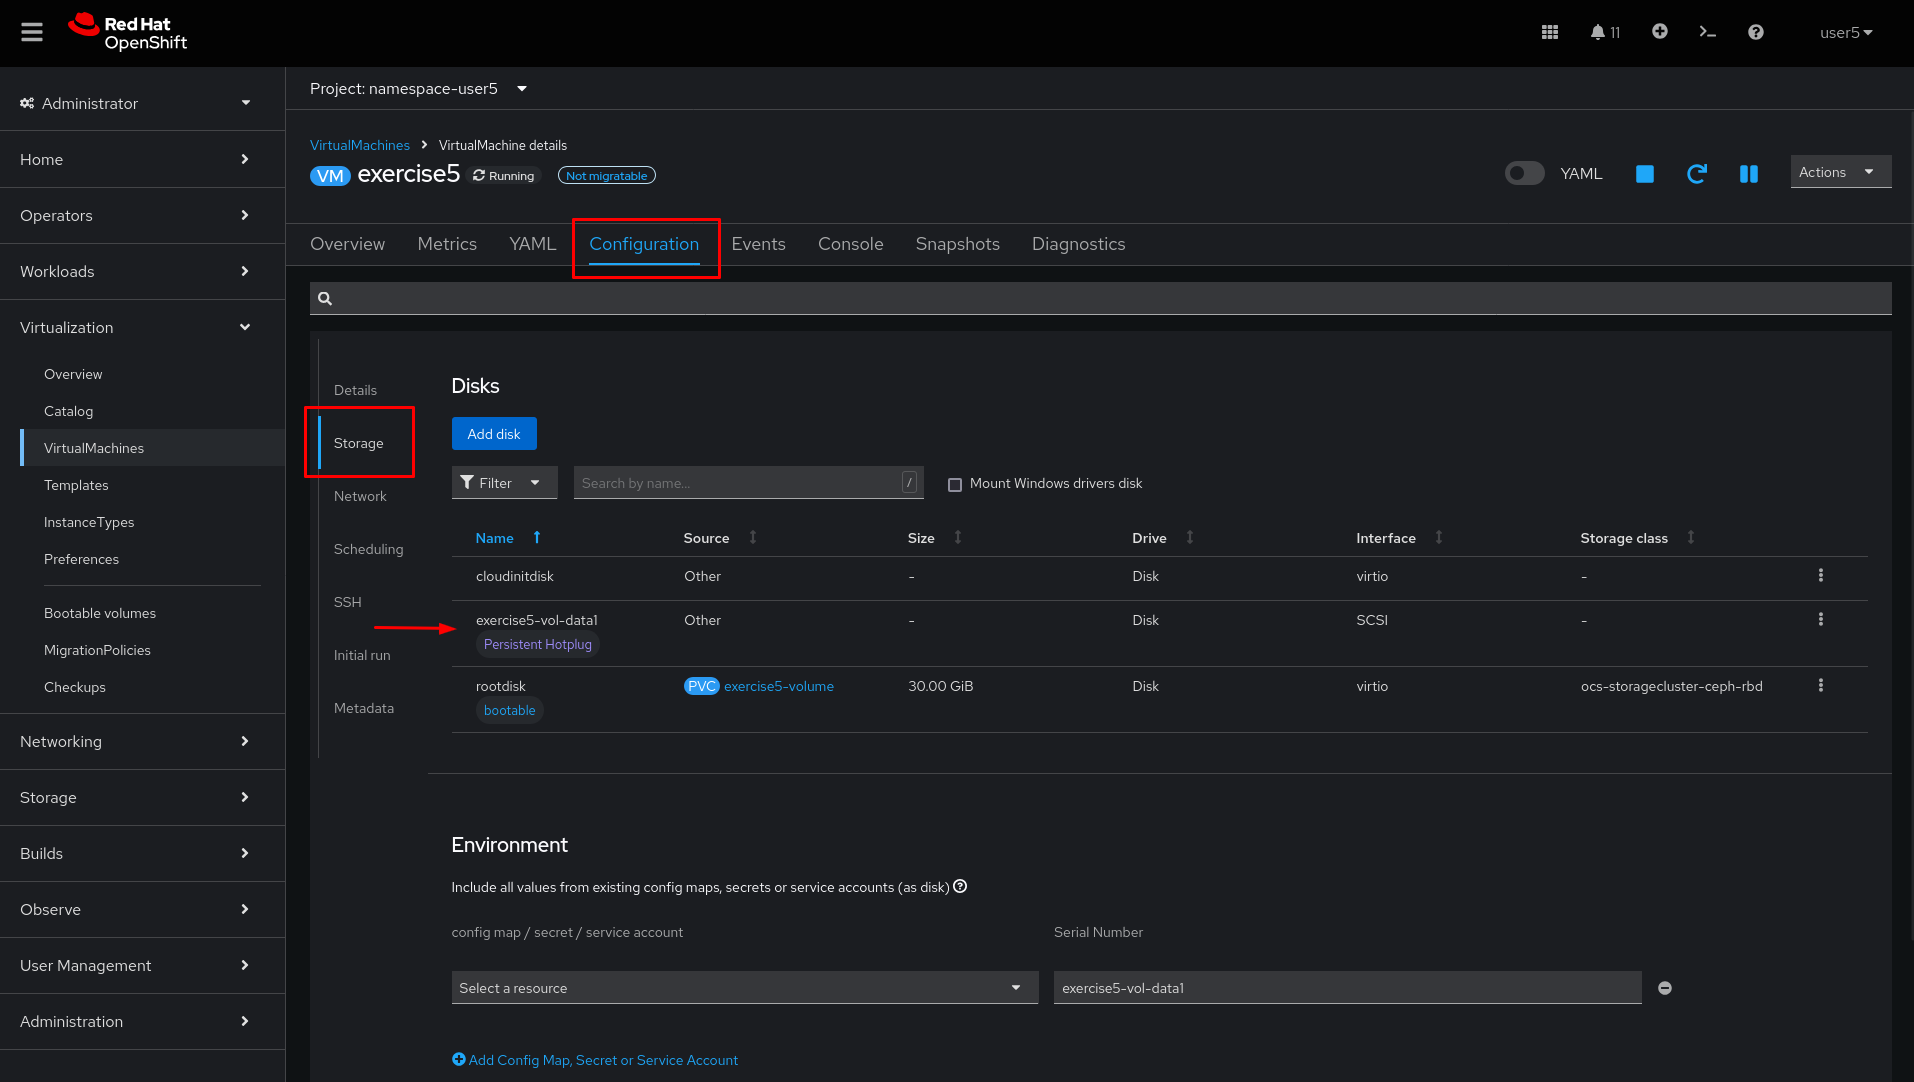
exercise5virtual machine click inConfiguration→Storageand check there’s an extra disk.
-
On left side menu, click
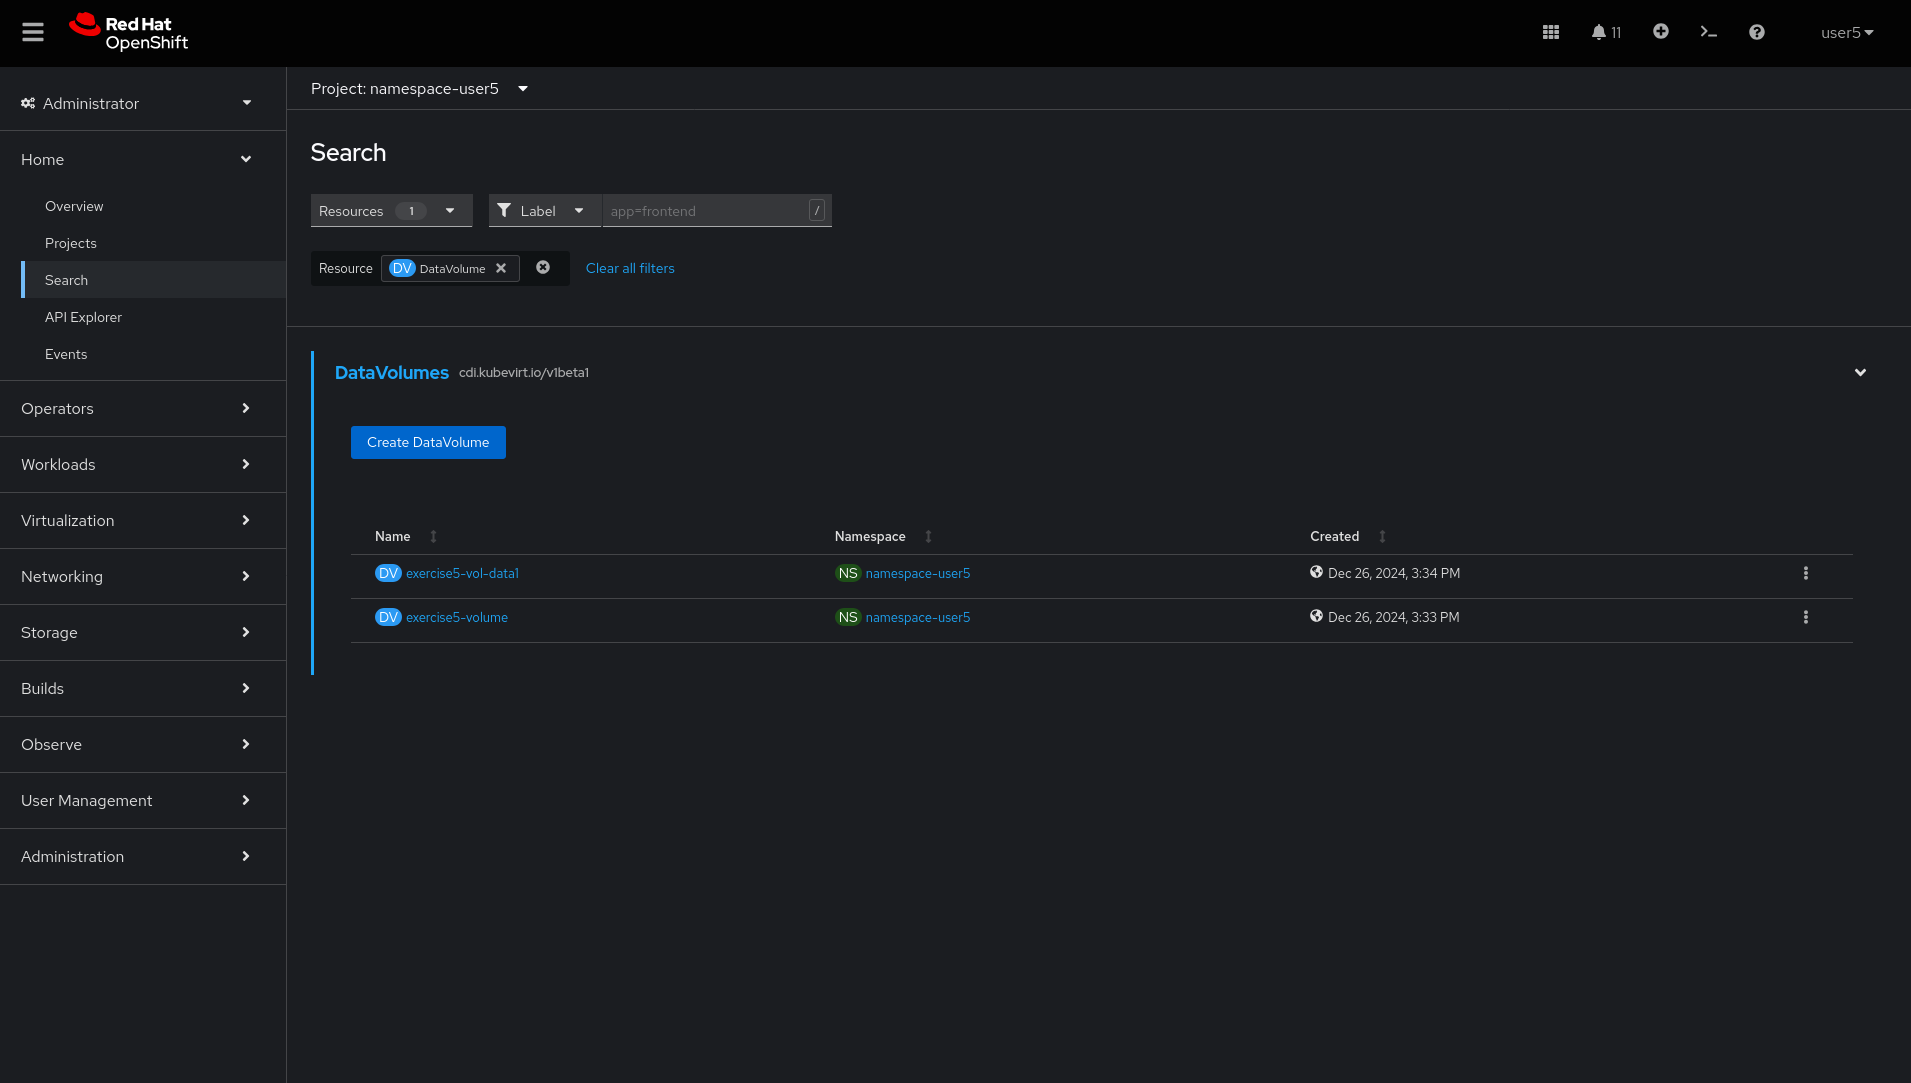
Home→Searchand onResourcestypeDataVolume. Click onexercise5-vol-data1DataVolume
-
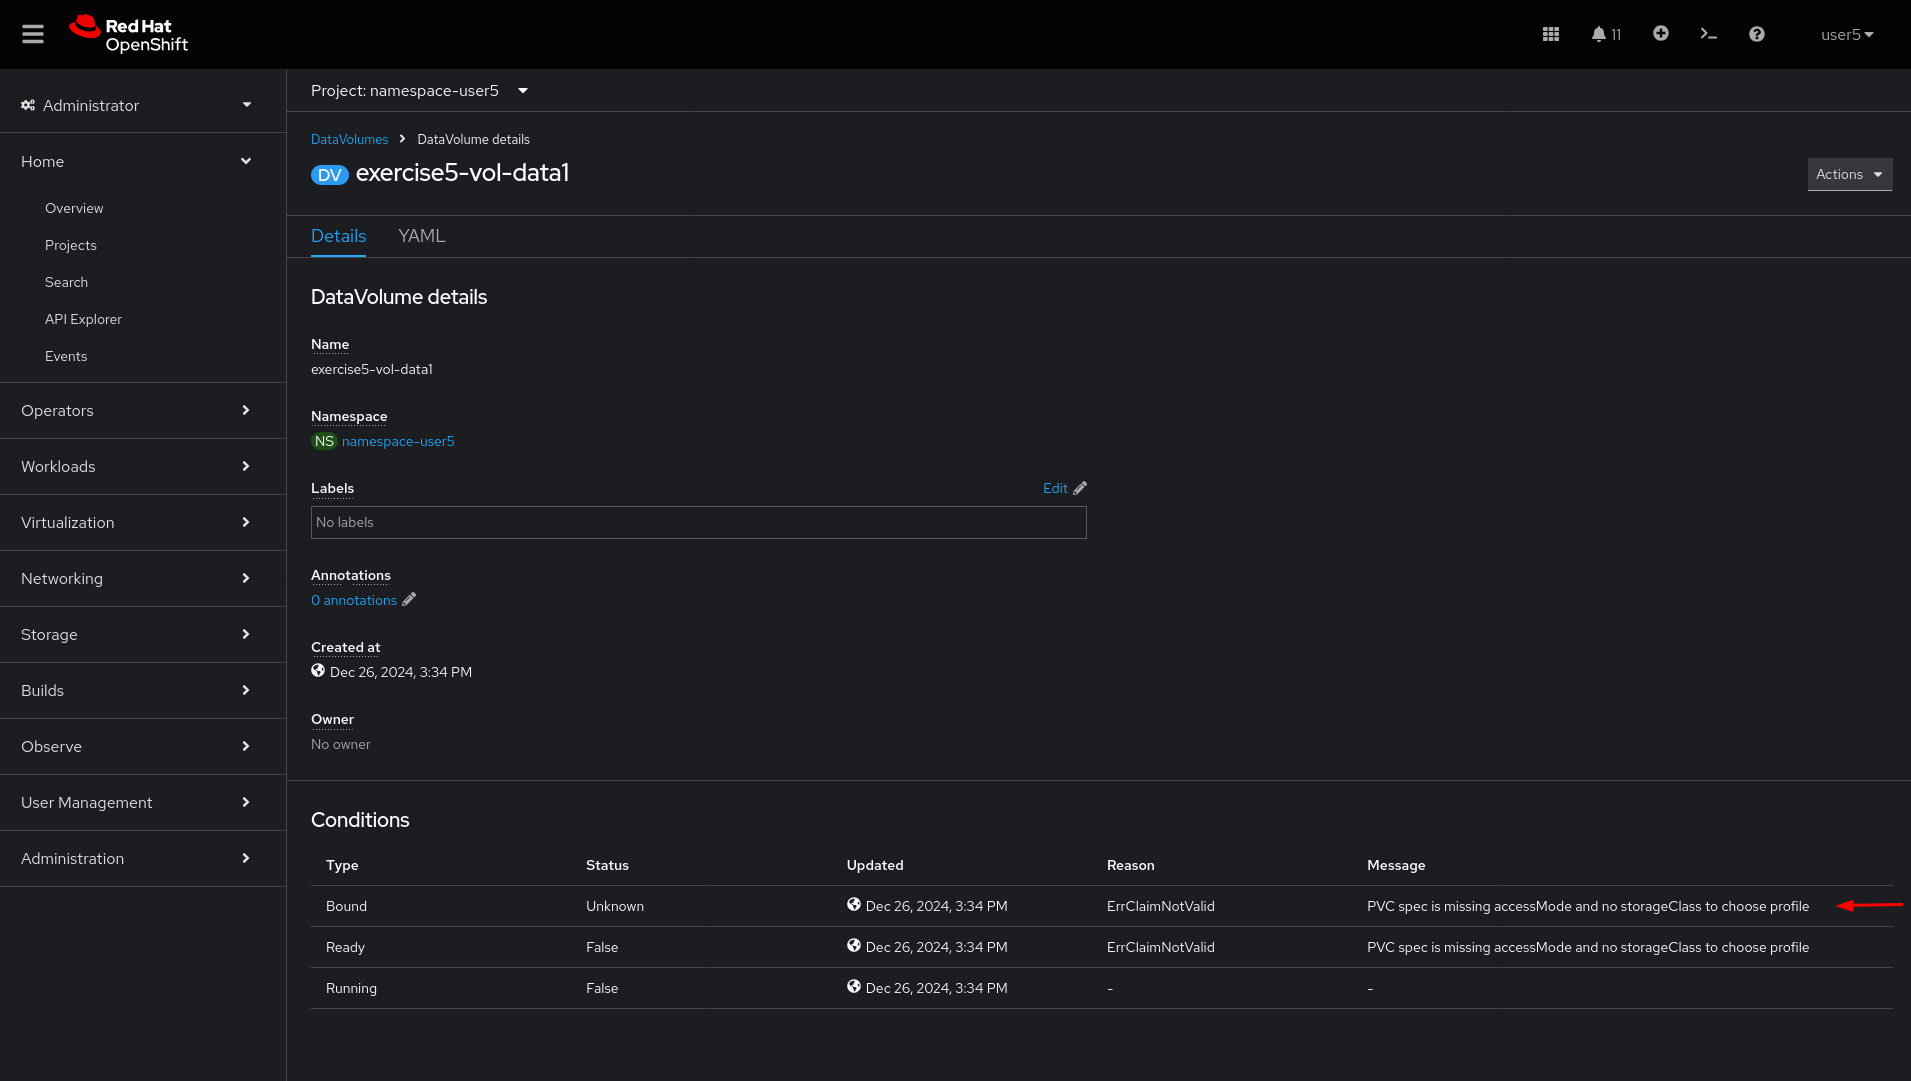
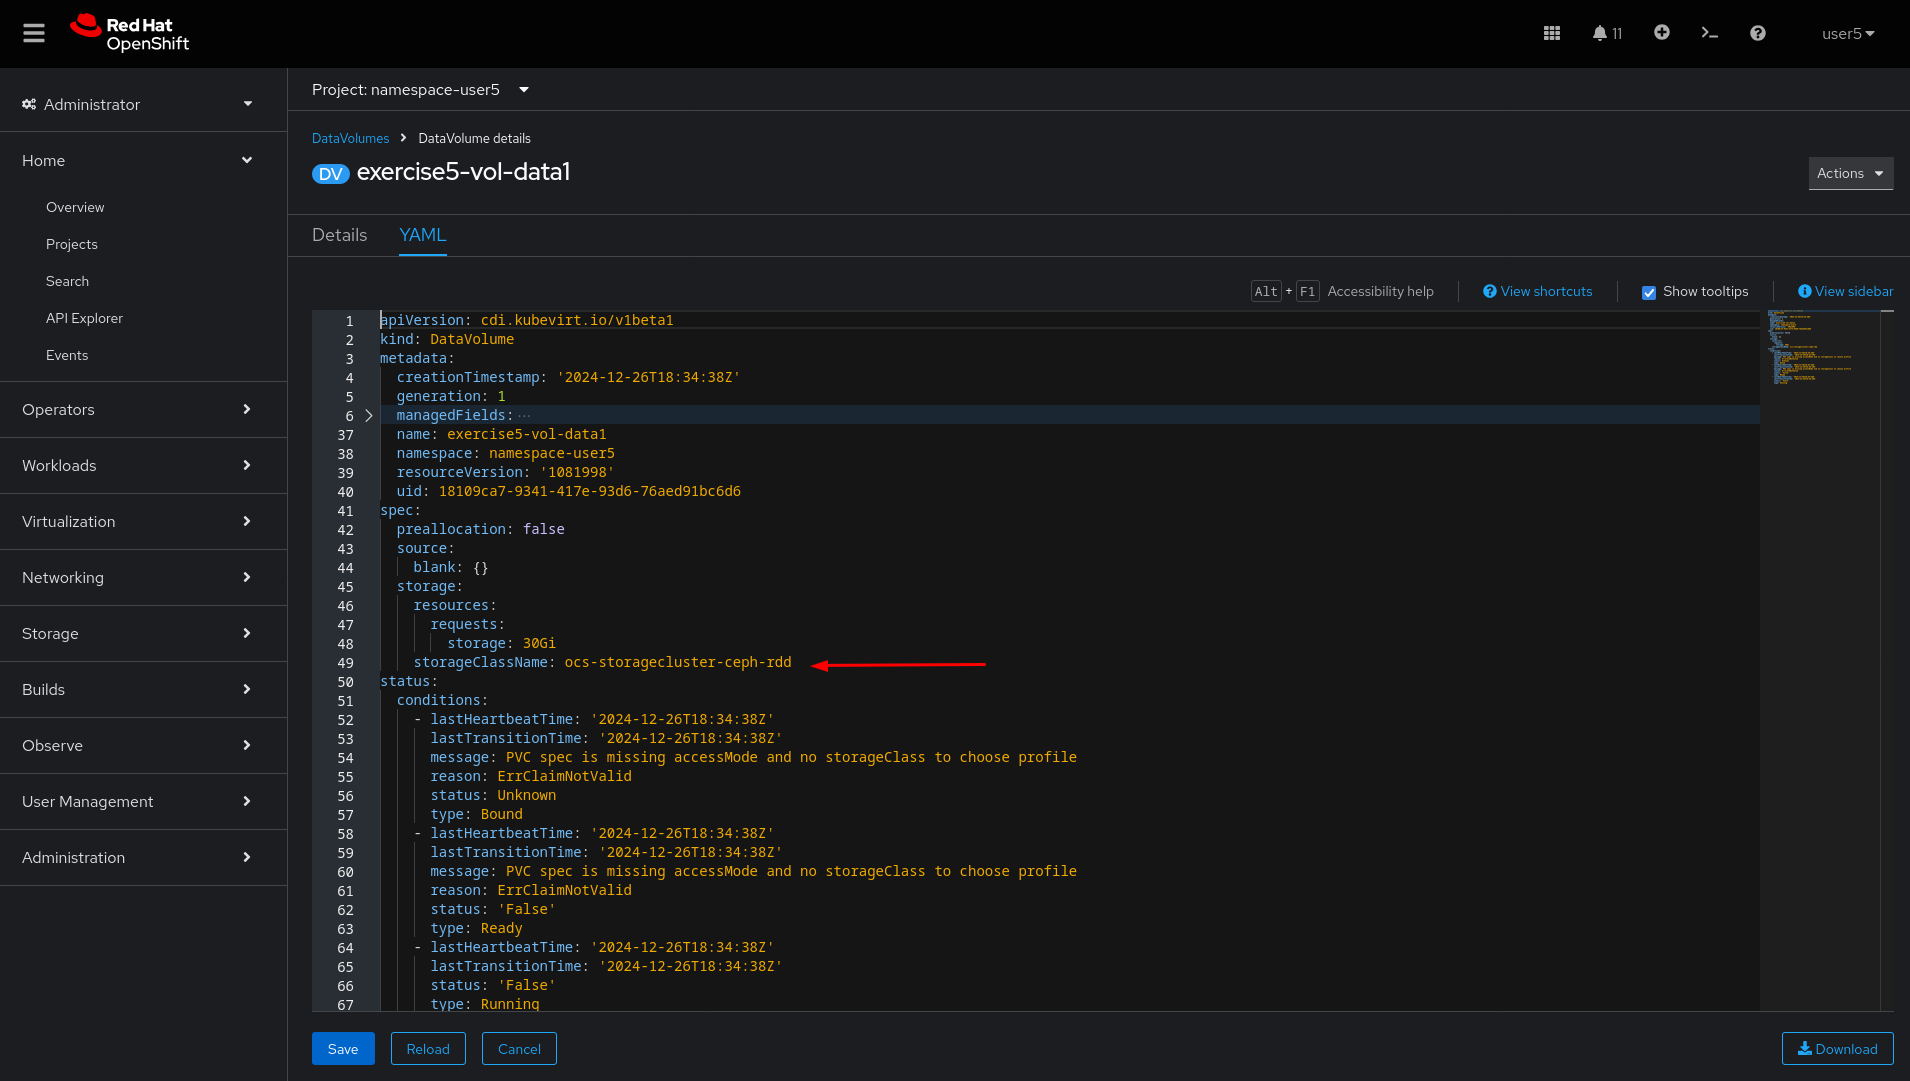
Verify there’s an error message on Data Volume.
-
The storageClassName is misconfigured.
-
Click
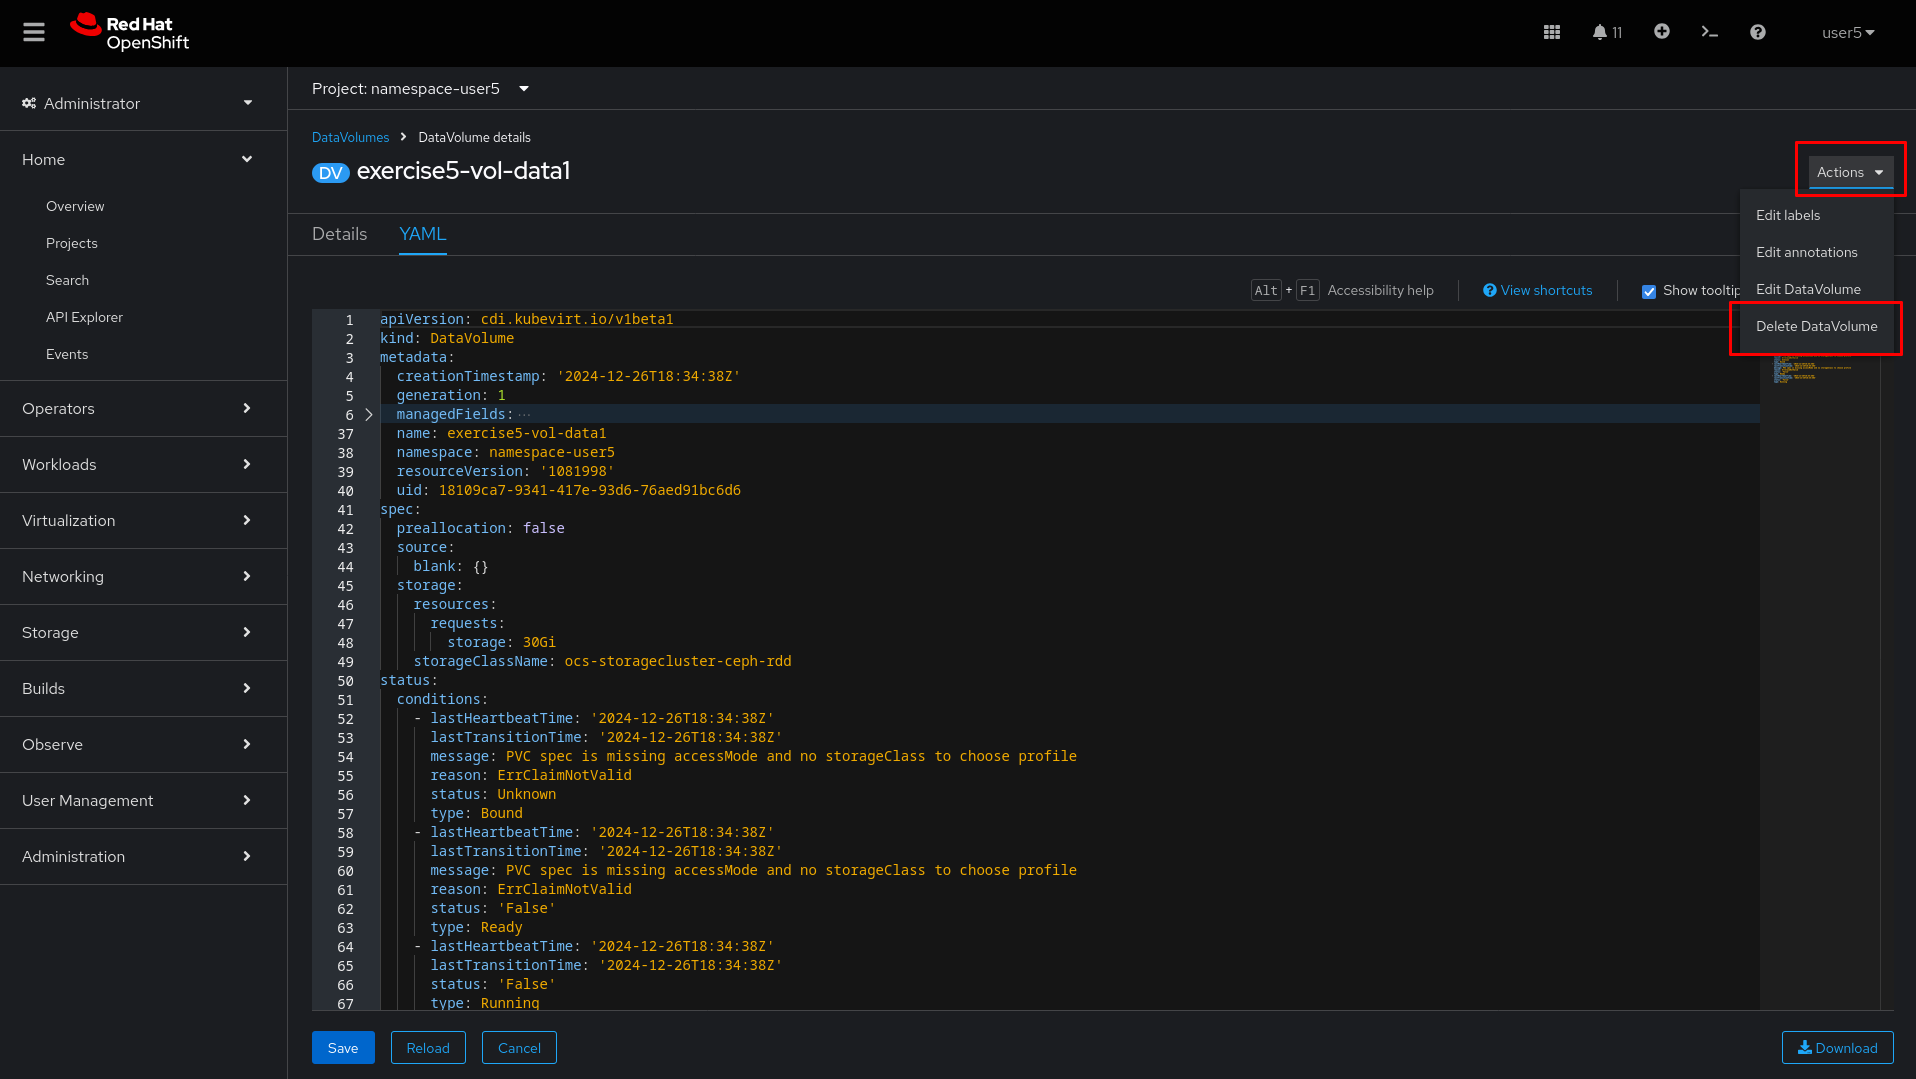
ActionsandDelete DataVolume
-
Click
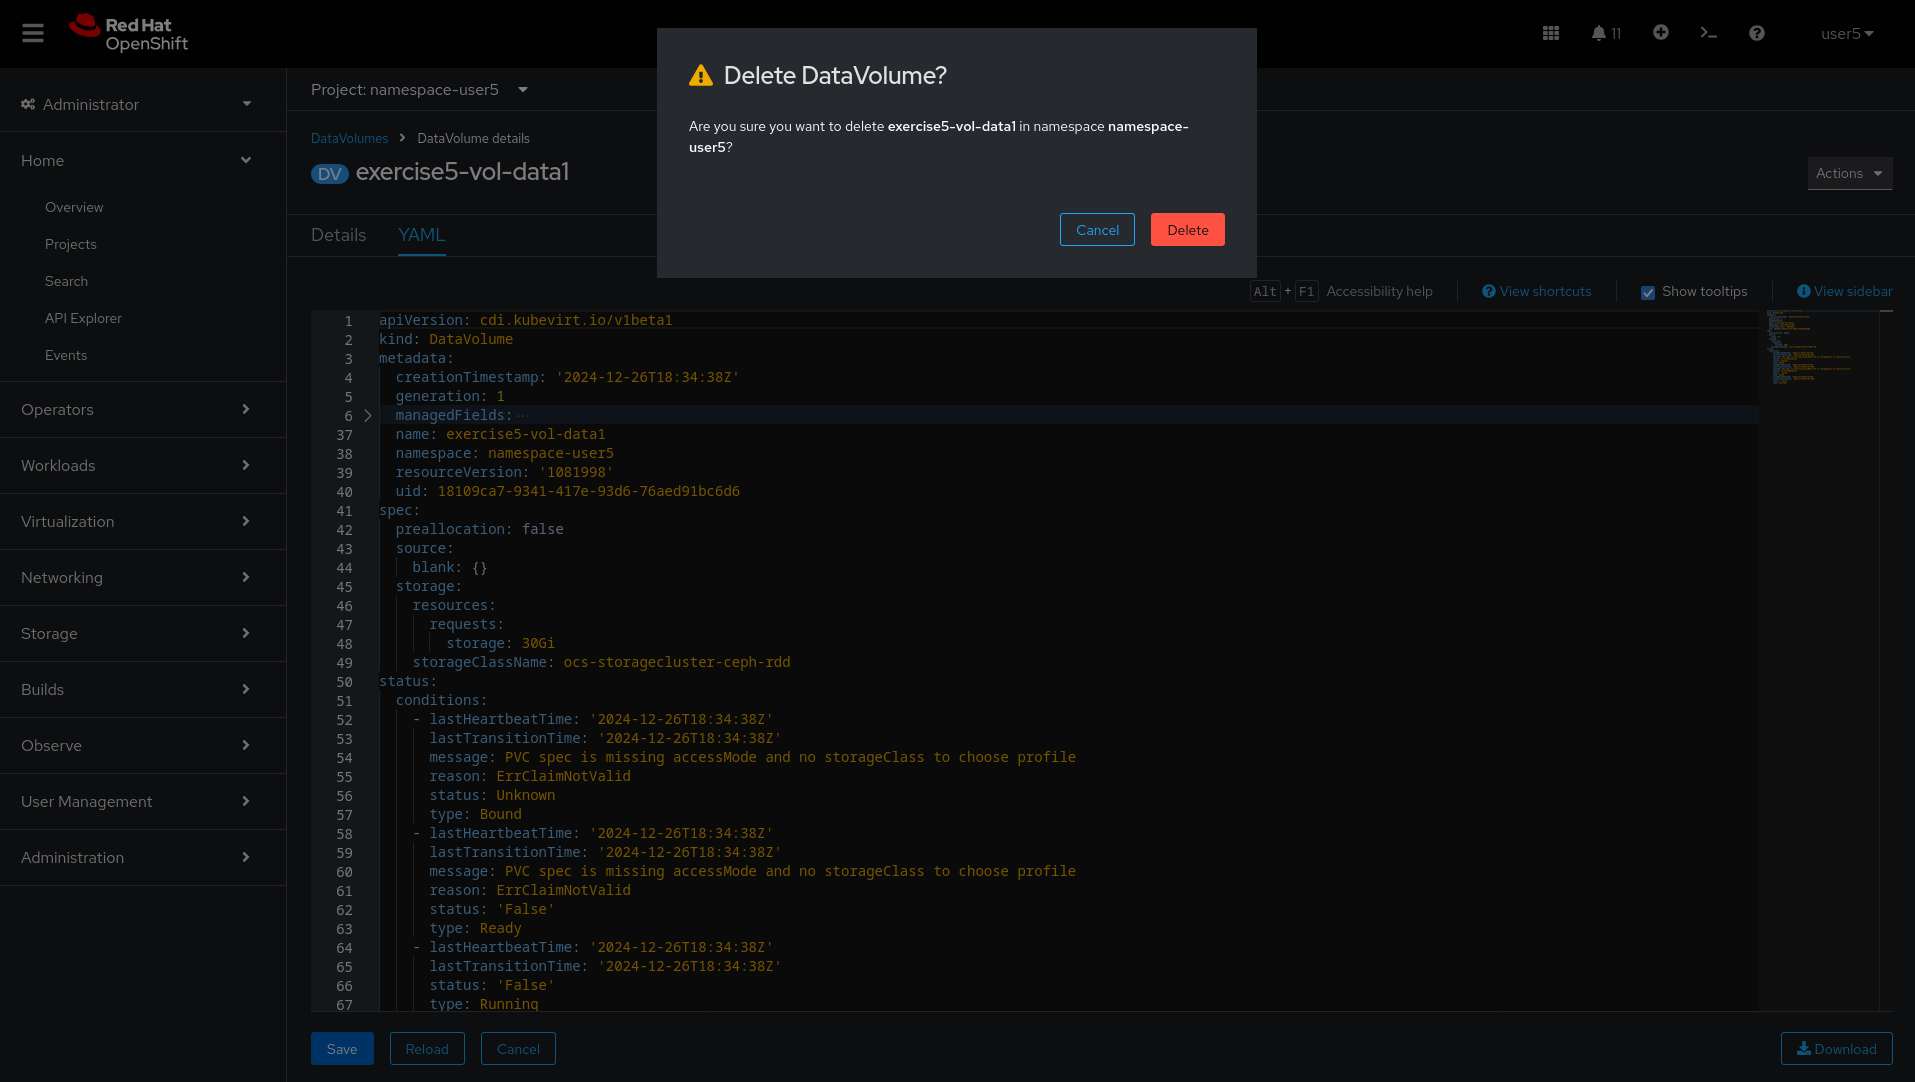
Delete
-
Click on
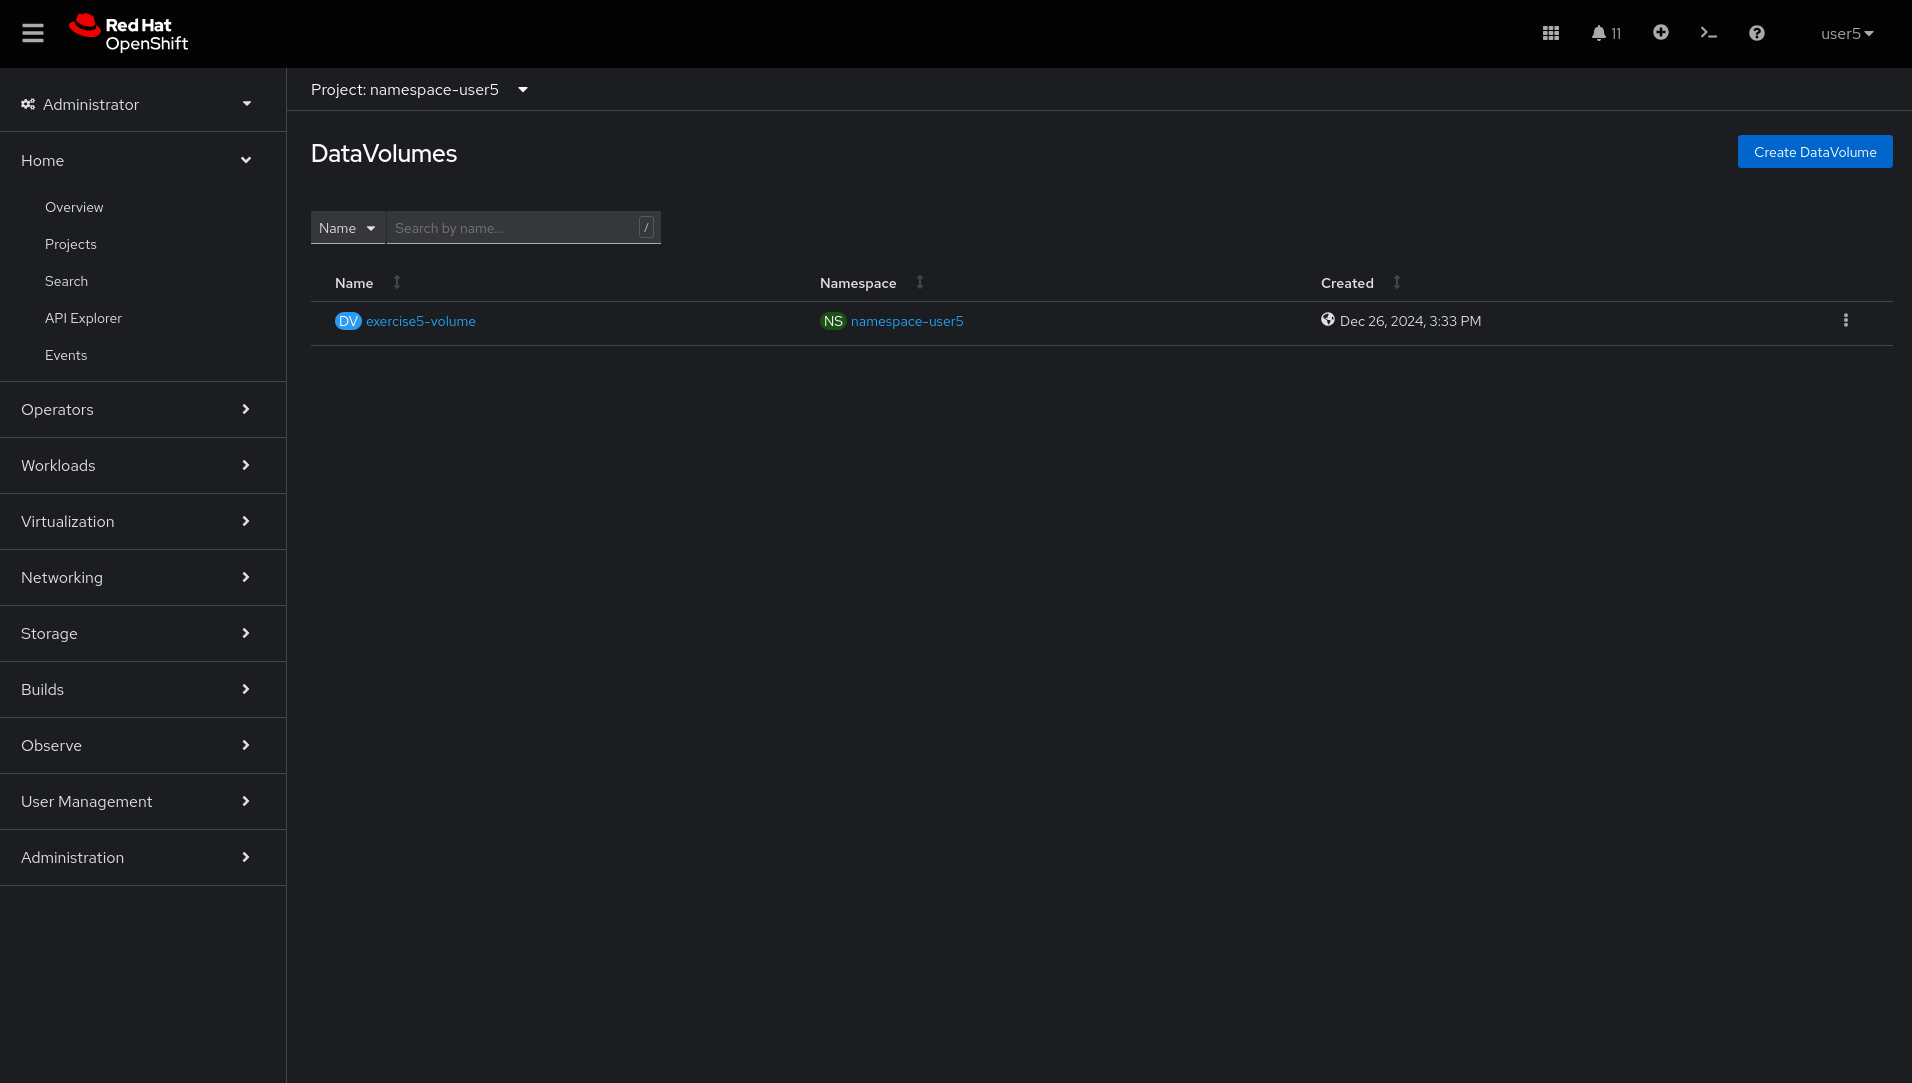
Create DataVolumebutton and paste the content to create a new Data Volume with the correctstorageClassName
-
Paste the content of the new DataVolume with storageClassName fixed and click
Create
apiVersion: cdi.kubevirt.io/v1beta1
kind: DataVolume
metadata:
  name: exercise5-vol-data1
spec:
  preallocation: false
  source:
    blank: {}
  storage:
    resources:
      requests:
        storage: 30Gi
    storageClassName: ocs-storagecluster-ceph-rbd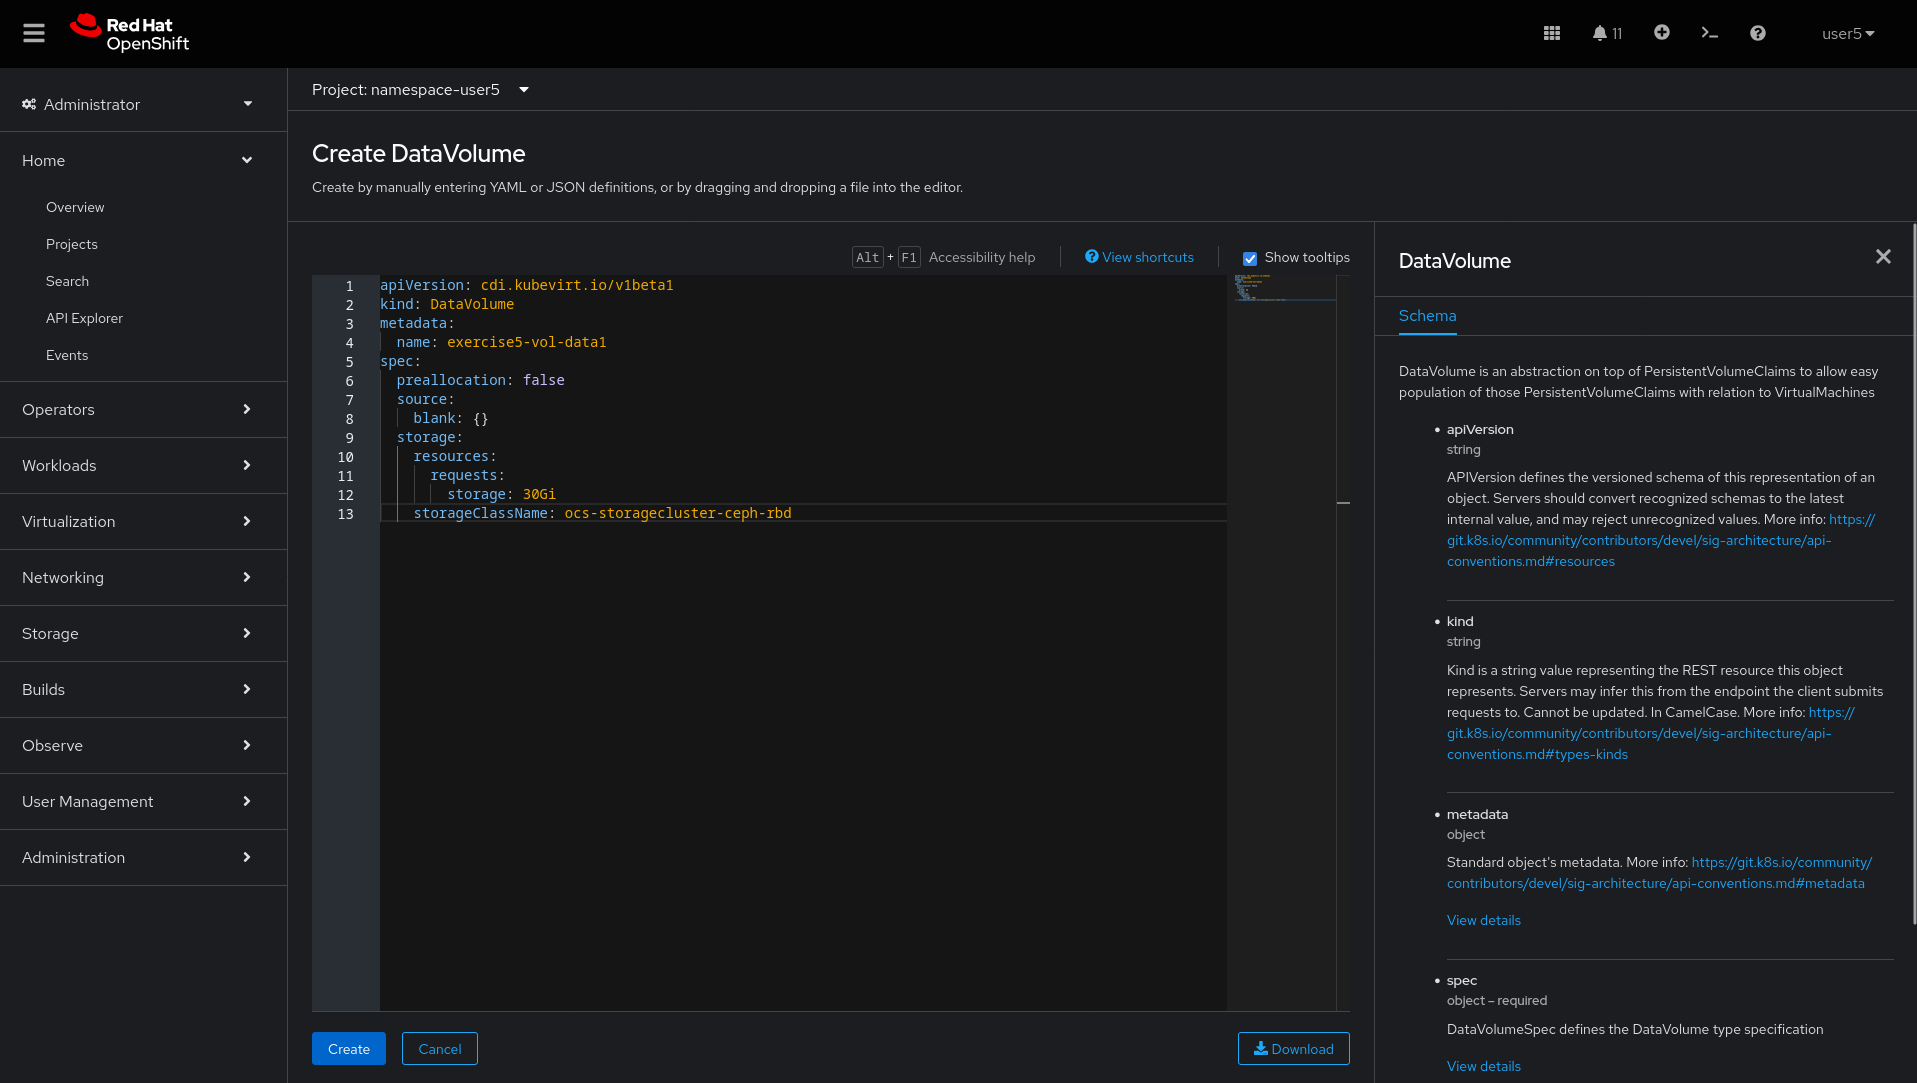
-
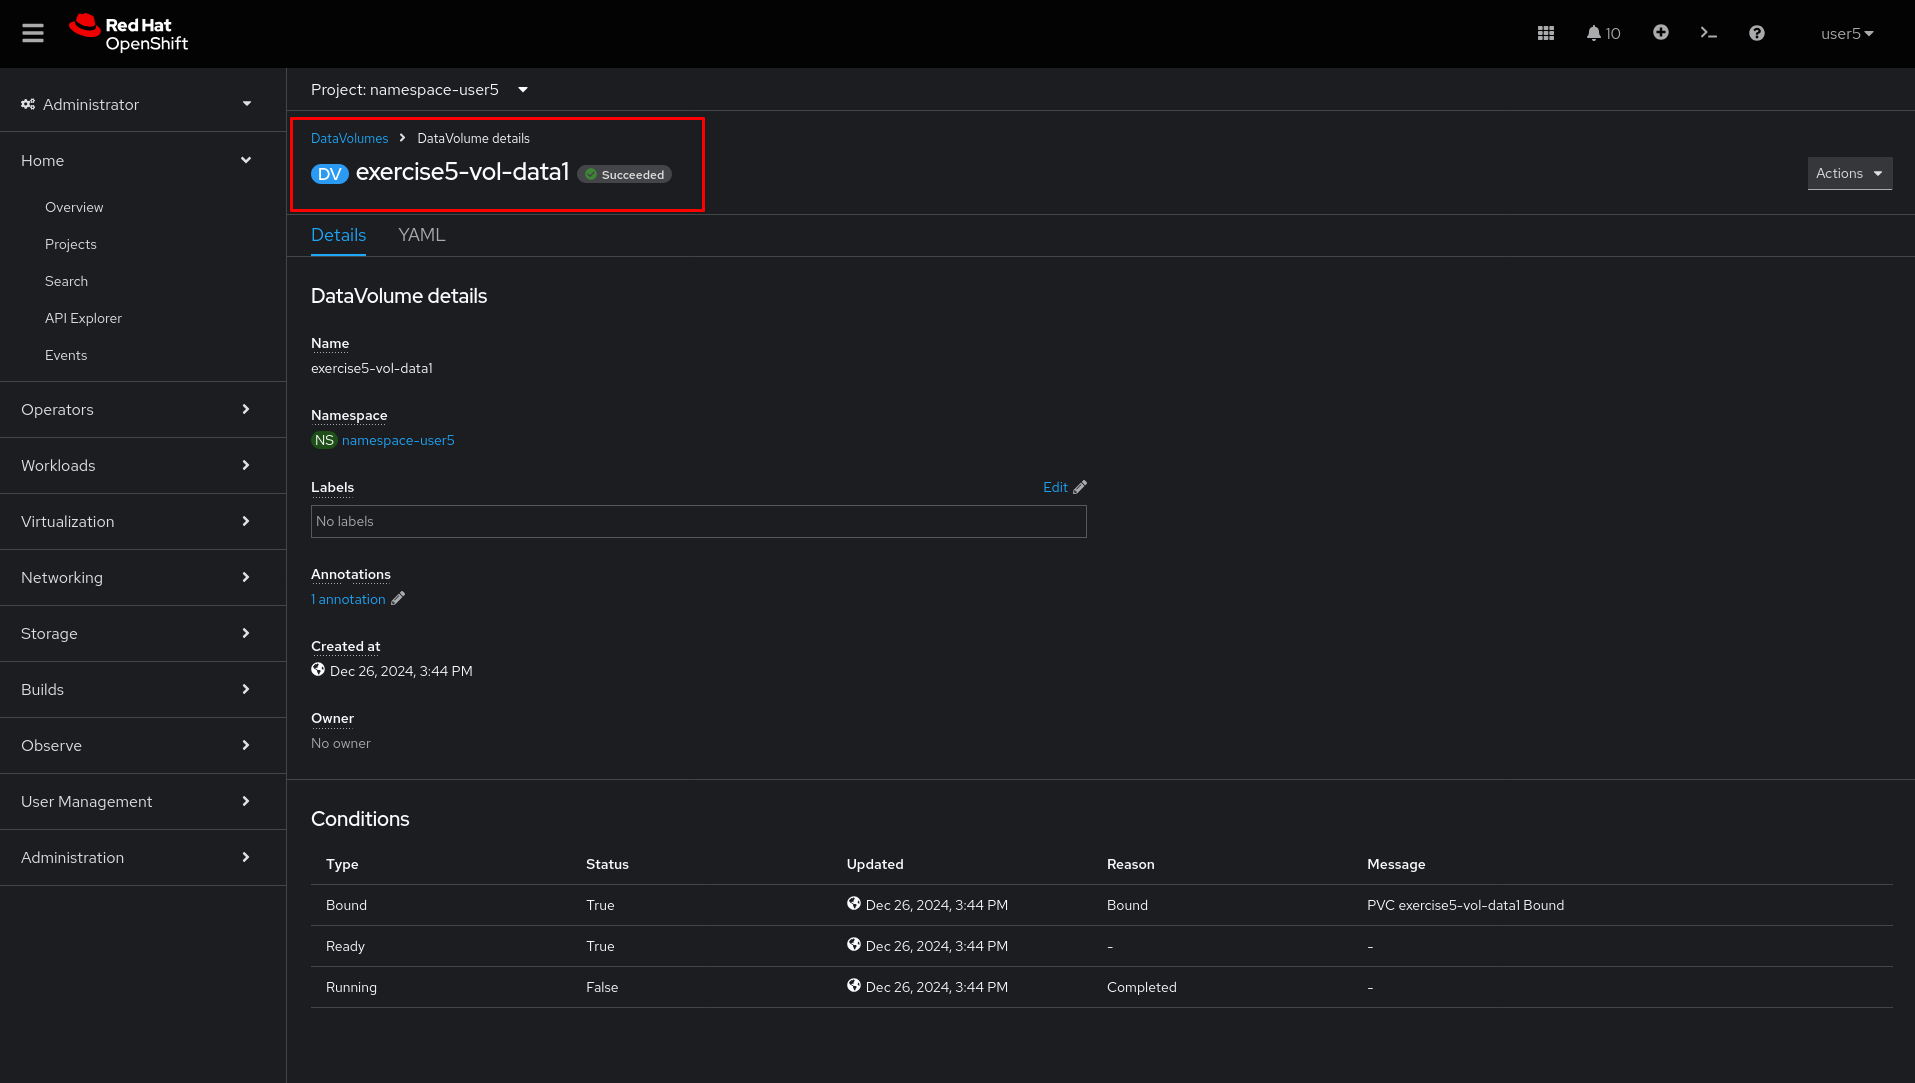
Wait for Data Volume status change to
Succeeded
-
You can run the
lab grade exercise5command to validate the exercise.
lab grade exercise5Command line (CLI)
-
Login to Openshift server API using the assigned user account with
occommand if not logged in.
{login_command}-
Go to the assigned namespace-userx
oc project namespace-userx-
List the virtual machines
oc get virtualmachine-
Check the additional data disk
exercise5-vol-data1Datavolume is empty
oc get datavolume-
Check the additional data disk
exercise5-vol-data1does not have noPersistentVolumeClaimsassociated
oc get pvc-
Check the configuration of
exercise5-vol-data1Datavolume and verify that there is a misconfigured defaultStorageClass
oc get datavolume exercise5-vol-data1 -n namespace-userx -o yaml-
Delete the the datavolume exercise5-vol-data1
oc delete datavolume exercise5-vol-data1-
Create again the DataVolume by using the
storageClassNameofocs-storagecluster-ceph-rbdwith the nameexercise5-vol-data1and using 30GiB size.
oc create -f - <<EOF
apiVersion: cdi.kubevirt.io/v1beta1
kind: DataVolume
metadata:
  name: exercise5-vol-data1
spec:
  preallocation: false
  source:
    blank: {}
  storage:
    resources:
      requests:
        storage: 30Gi
    storageClassName: ocs-storagecluster-ceph-rbd
EOF-
Check the status of exercise5-vol-data1 and wait for the additional disk to be provisioned
watch oc get pvc-
Go to virtual machine console of exercise5 and login using lab-user credential
virtctl console exercise5-
Check the disk availability using
lsblkorfdisk -lcommand. The new additional disk fromexercise5-vol-data1should be there and ready to be format and mount by the user.
What you learned
In this exercise, you learned that disks are not presented to virtual machines until Persistent Volume Claims (PVCs) are created.
To change the storageClassName of a data volume in OpenShift Virtualization, you need to delete the existing data volume and create a new one with the desired storage class.